My Creative Blog [Search results for black and white]
How To Make Pysanky (Ukrainian Easter Eggs)

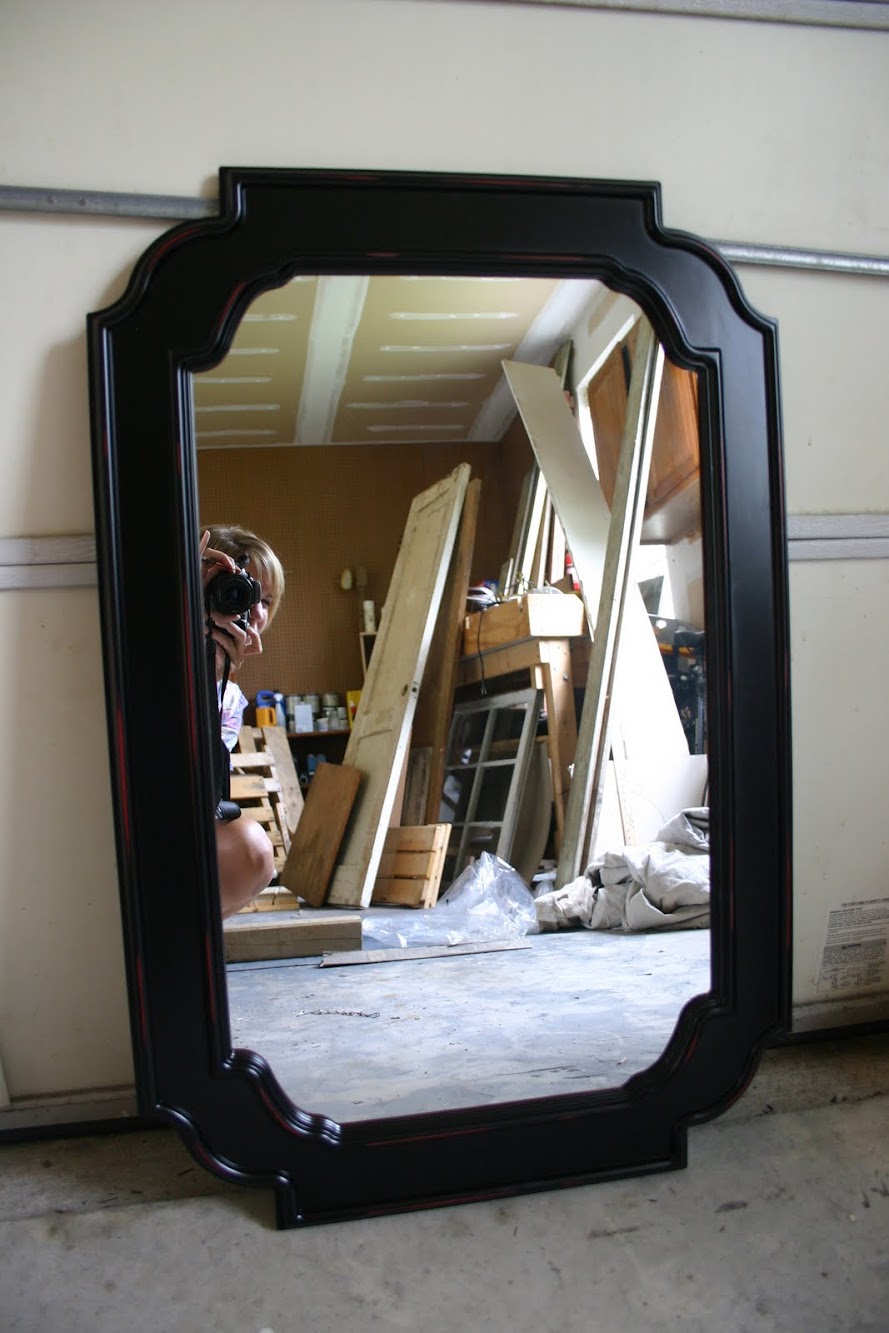
From an Oops! to a Yes!
Creating with the Stars Round 2 Voting

The New Gray?

How to Paint a Whiteboard Wall

Creating with the Stars Round 3 Voting

Painted Wall Mural and Dresser {Love and Renovations}
Merry Christmas to You! {Sponsor Special}

DIY Pendant Light & Custom Shade

Fingerprint Artwork {Meaningful Art}

Ginormous Family Art {With an Industrial Flare}
The Living Room: Before and After

White Cabinet Reveal! {Kitchen Update}

Refinished Dining Room Table {Furniture Makeover}

Buggies

Photo Stripping

Brass Fireplace Update

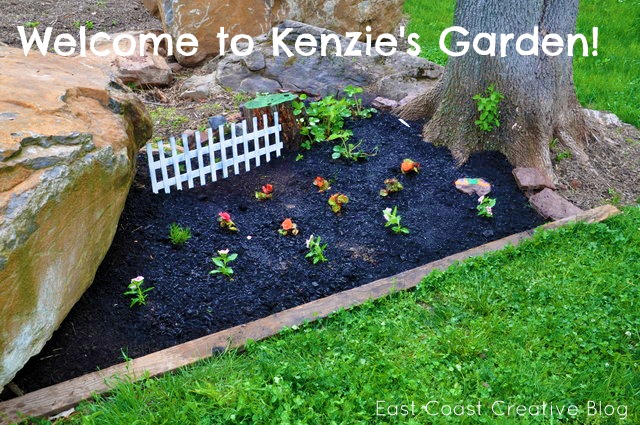
Gardening for Kids {Kenzie's Garden}
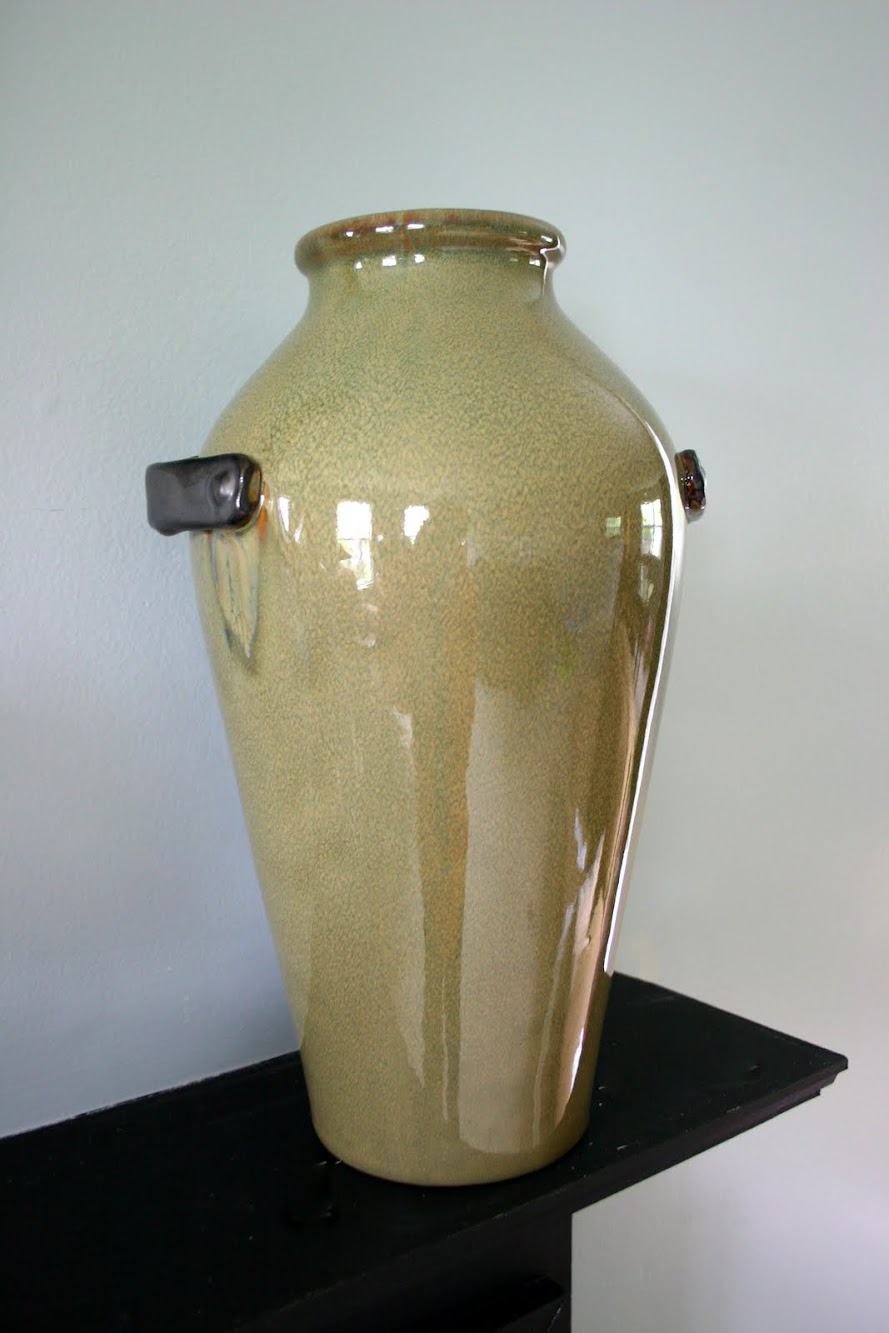
Finding Treasures {Flea Market Hunt}
Kids Desk & Craft Area


