My Creative Blog [Search results for bedrooms]
Putting the Baby in the Basement

Wooden Memo Board
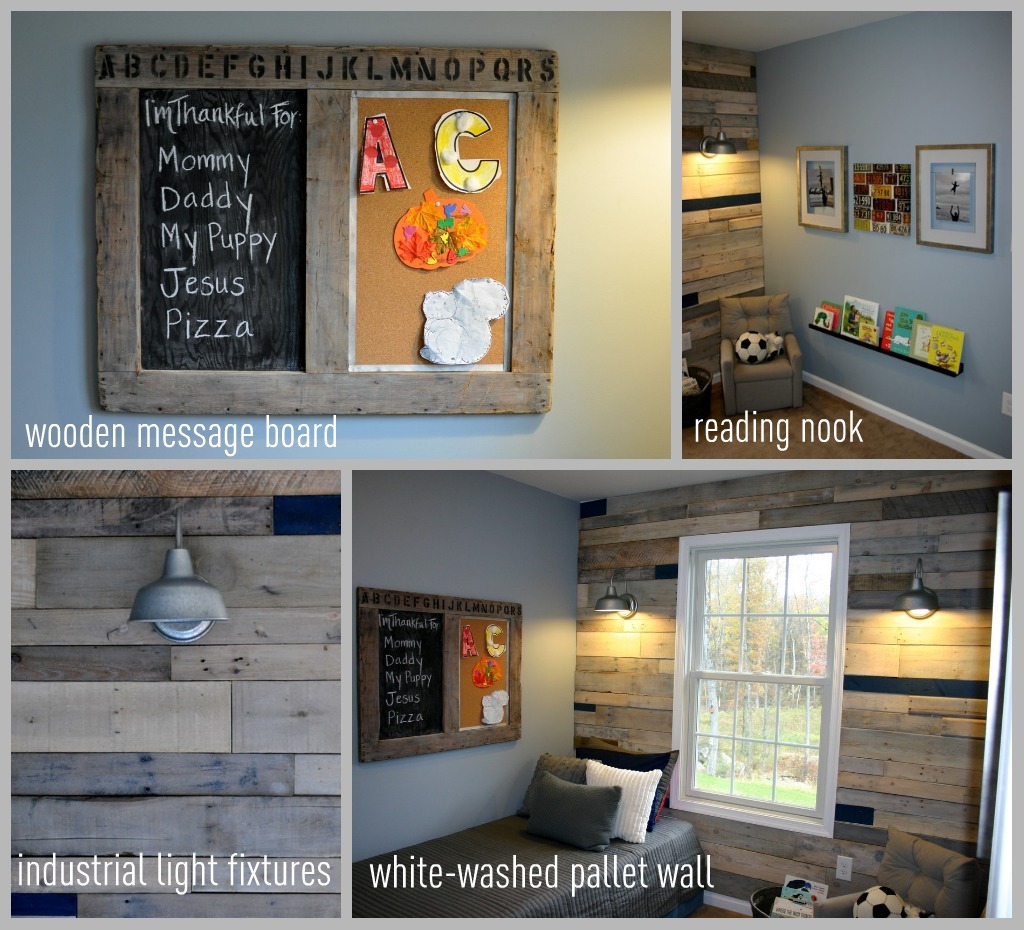
Pallet Possibilities {How to Build a Wooden Pallet Wall}

House Snooping {Oxford, Maryland Vacation}

Make Homework Happy {B2S Day 2}

How to Build a Custom Headboard with Arms {Sarah M.Dorsey Designs}

Creating with the Stars Round 1 Voting

