My Creative Blog [Search results for Vintage Images]
Vintage Halloween Postcards

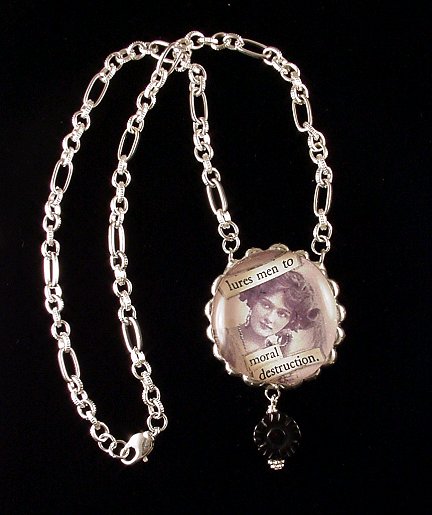
How to Make Domino Jewelry

Be My Valentine

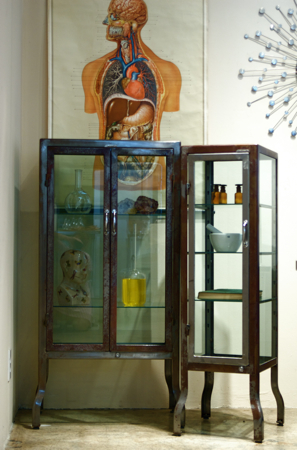
vintage stainless steel medical cabinets
Playing around with Spoons: Antique Silver Spoon Earrings

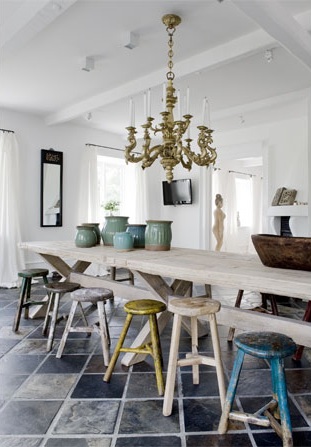
Springtime Inspiration

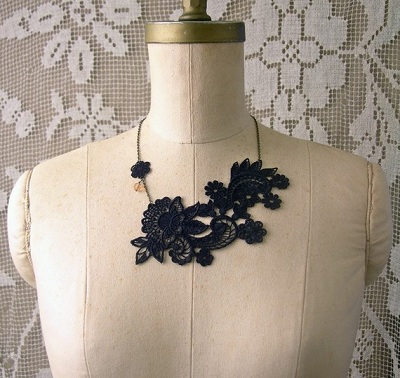
A vintage feel
Free Printable Art Round-Up

Happy March
White Owl