My Creative Blog [Search results for Stacy Salvatori]
4 Tips for Taking Fabulous Pics of your Kids {GIVEAWAY}

This is How We Roll… {The Mangin Family}

Fab Find Friday {Salvatori Photography}

How to Make a Gender Reveal Box (that has style) and Plan an Epic Gender Reveal!
Mother's Day Giveaway! {Salvatori Photography)

Spring Must Haves
Introducing…

Ginormous Family Art {With an Industrial Flare}
Blank & White

A New Look {Free Firmoo Glasses}
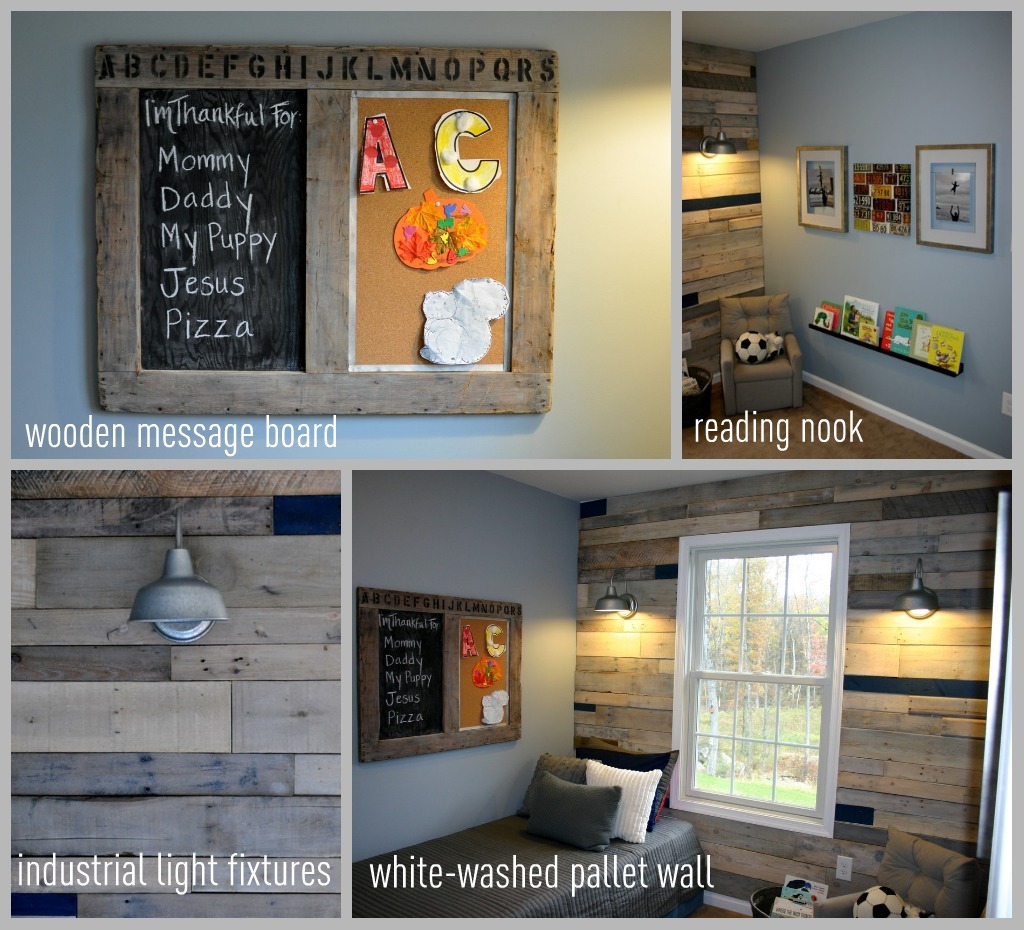
Wooden Memo Board
Painted Piano- HGTV Magazine feature {AKA I died and went to Heaven)
Green Painted Piano {Annie Sloan Chalk Paint}
Summer Sponsor Spotlight
Pimp My Billy {Part 1}

Fab Find Friday

Fall Sponsor Love


