My Creative Blog [Search results for Personal]
Do you Vista?

Get Organized!

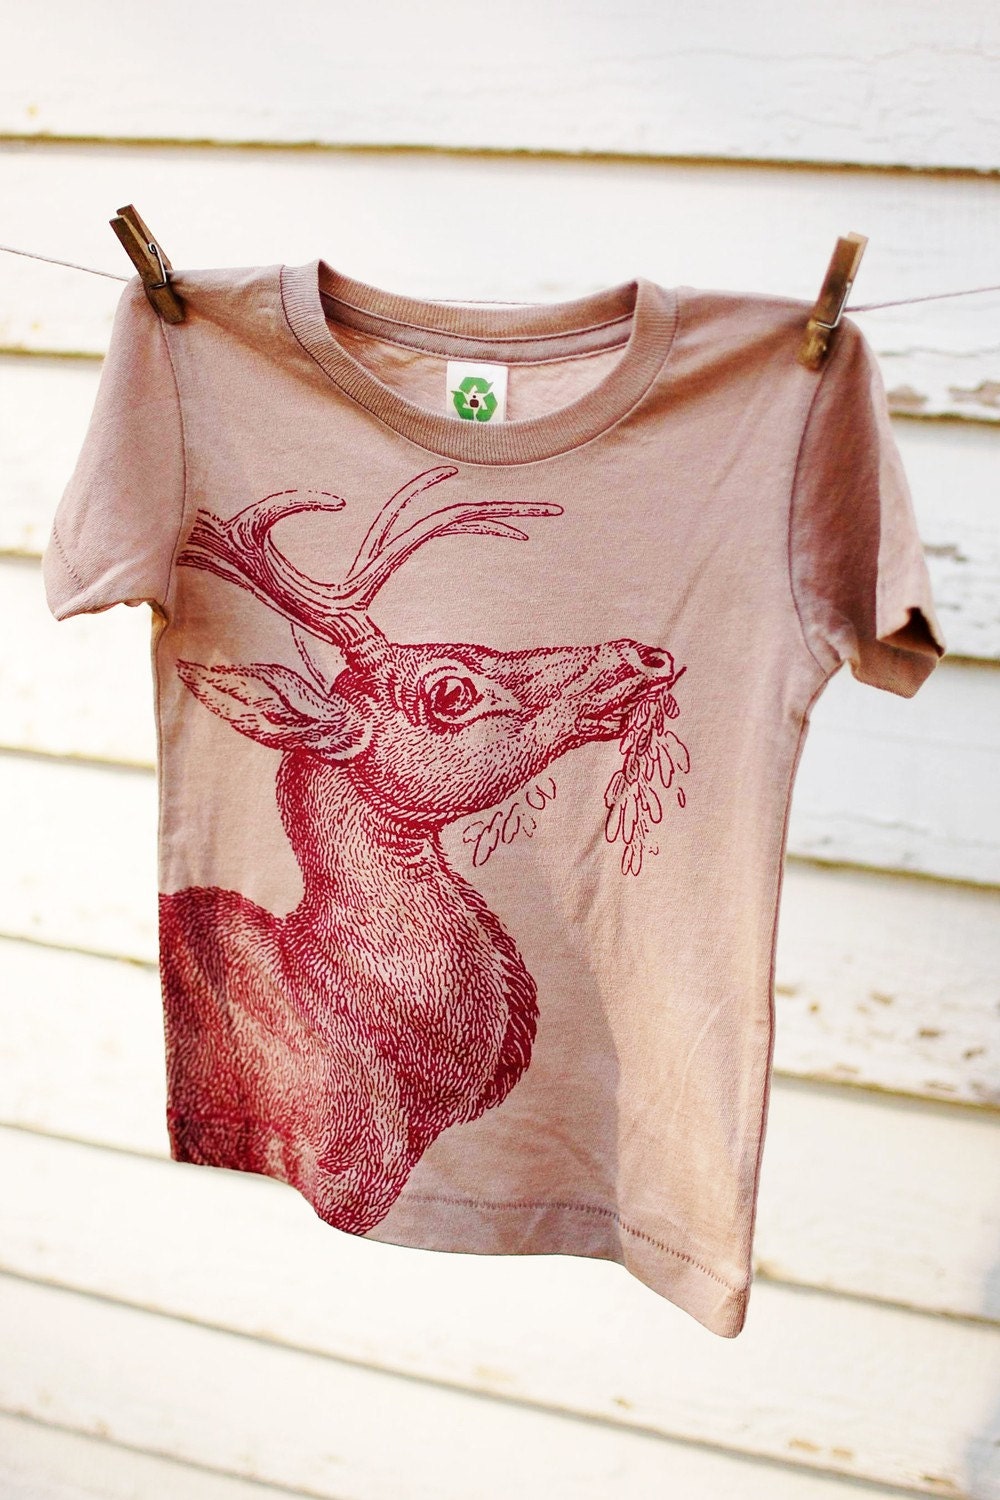
My Trend Forecast for 2011....Nature in Handcrafts
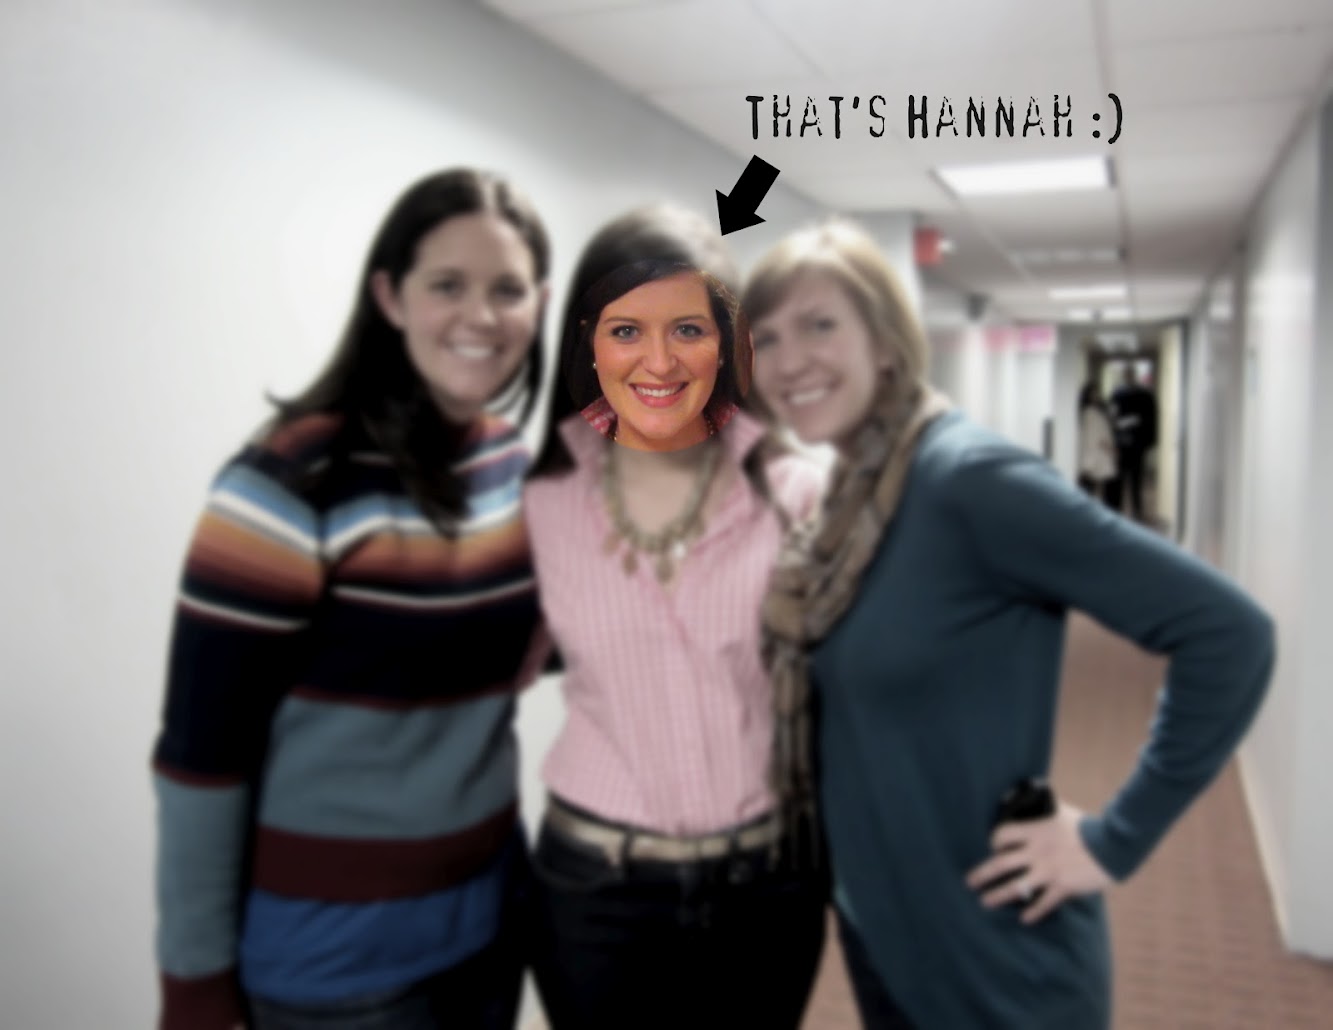
Adios Amigos Day 2 {Hannah Kate Flora}
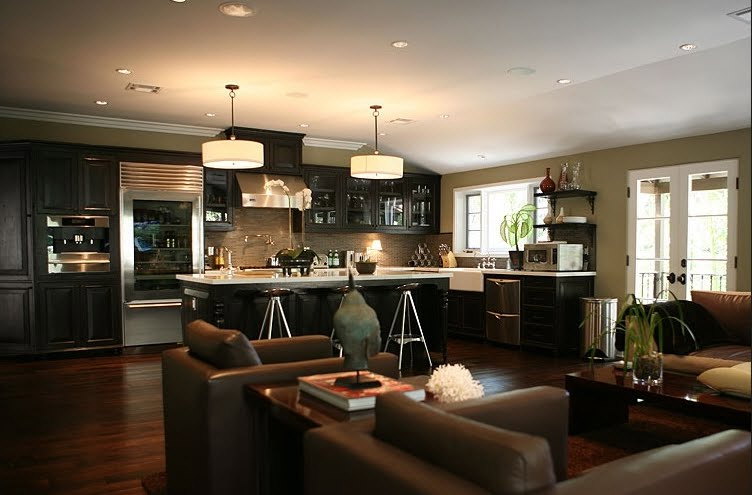
Flipping Out: Jeff Lewis Designs
Another Freebie! {Paper Coterie}

Best Valentine's Day Gift Ever- Take Two: 2013

A Vagabond Song

Design Icons {of the Blogosphere}

Disney Recap {and awesome blog alert!}

a lil' gray on the outside...

Christmas Shopping, anyone?

Furniture is Here!

Fab Find Friday

This is How We Roll… {The Mangin Family}

Done…for now! {Kitchen Renovation Update}

Race Street Photobooth

First of Advent

How To Make Awesome Hang Tags

Perfect Valentine's Gift {The Game of Love}


