My Creative Blog [Search results for Nursery]
The Nursery

12 Free Nursery Printables

Fab Find Friday {Contact Us- Help a Reader Out}

Orange, Gray & Mint Nursery Reveal
A Nursery Project

A Green Nursery

Wicker and Wood

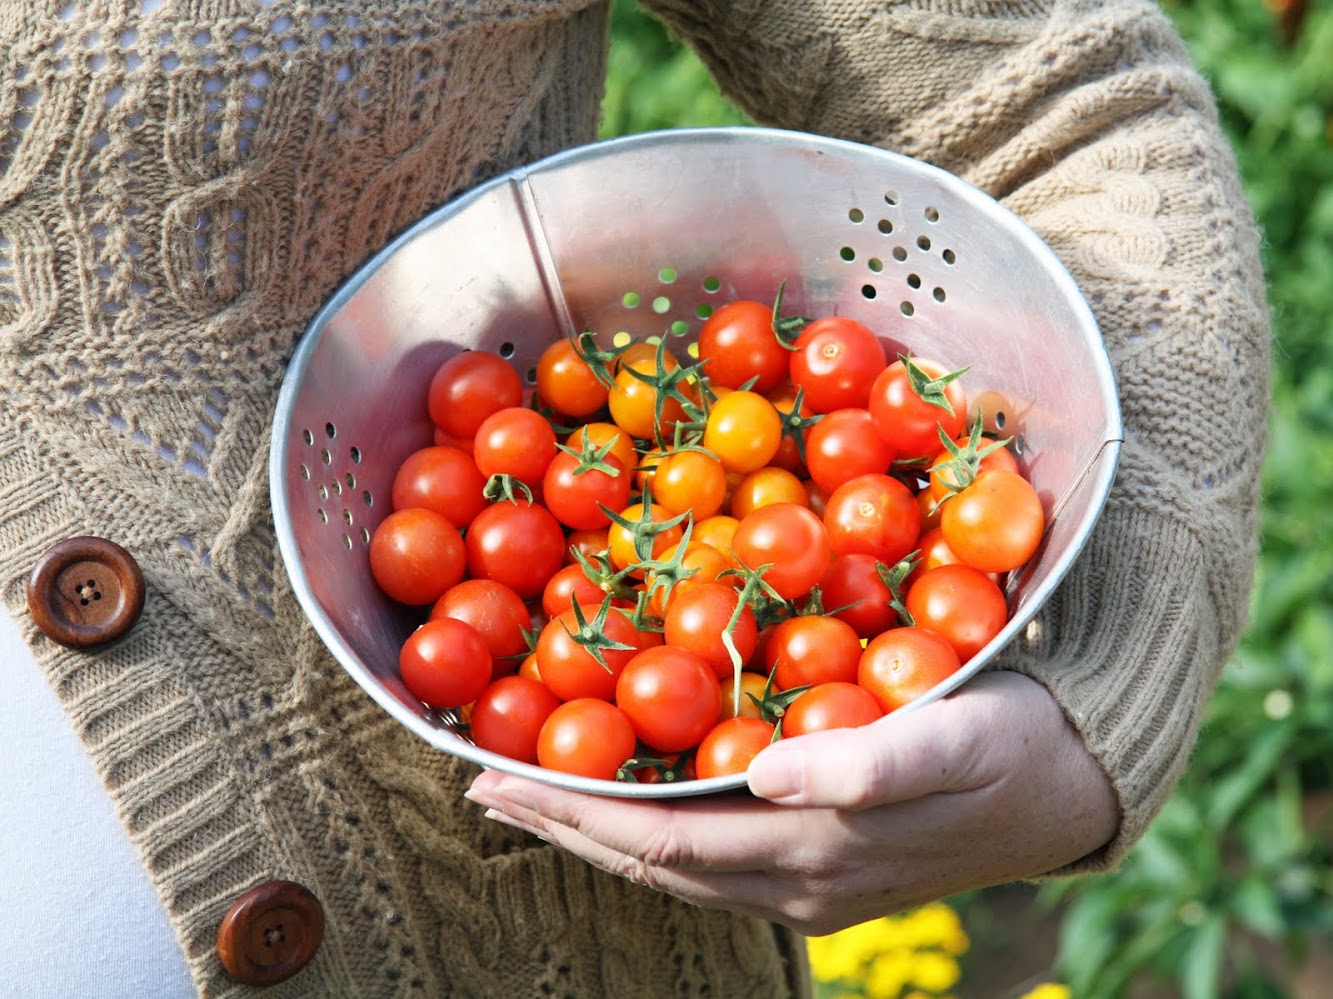
Tomatoes!
Ombre Painted Dresser {Knock It Off DIY Project}

Nesting Instincts

Six Years

DIY Faux Brick Wall {Knock It Off DIY Project}
Fab Find Friday

Big Boy Room Inspiration
Introducing…
Ladies Night Out DIY White Box Challenge!
Our Vegetable Garden

Helping Hobbies…

Good-bye September…Hello October!
February Sponsor Love

