My Creative Blog [Search results for Mudroom]
Mudroom Tour
DIY Mudroom Lockers {Garage Mudroom Makeover}

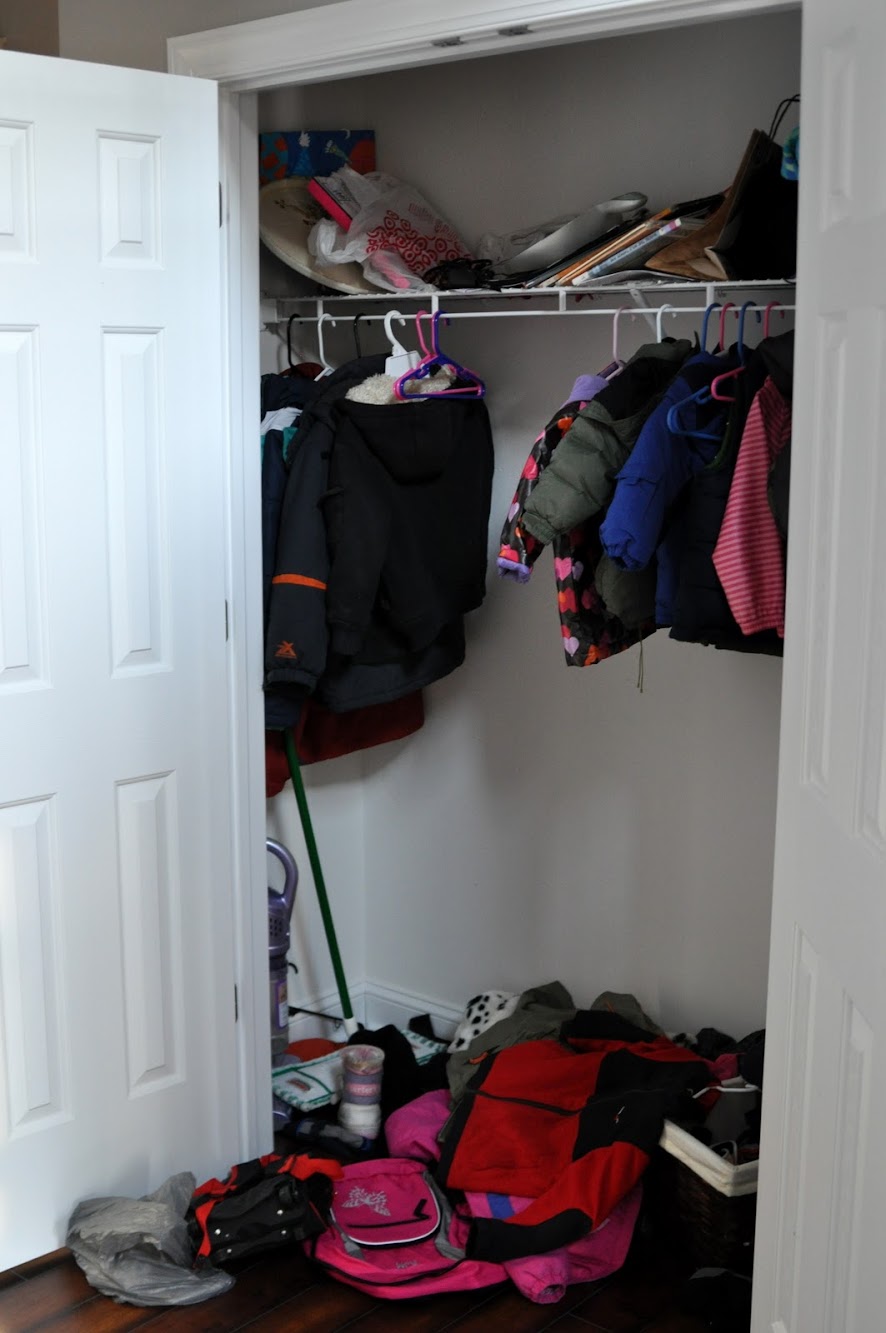
Want vs. Need
Staples Engineer Print Artwork {Garage Mudroom Makeover}

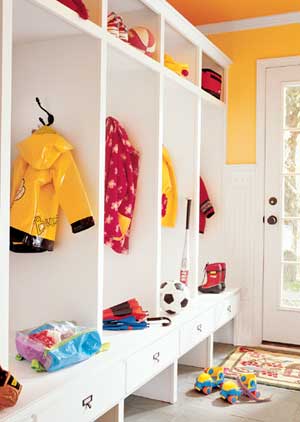
Garage Mudroom Makeover {For the REAL Family}

Custom Painted Runner Rugs {Garage Mudroom Makeover}

Best DIY Projects of 2012

House Snooping {Oxford, Maryland Vacation}

{Be Intentional}

How to Build the Easiest Coat Rack Known to Man

Top Projects 2012
