My Creative Blog [Search results for LIVE]
You're Invited! {Knock It Off Premiere}

Creating a Dream Backyard Experience

We've Got Some Really Big News! {Knock It Off}
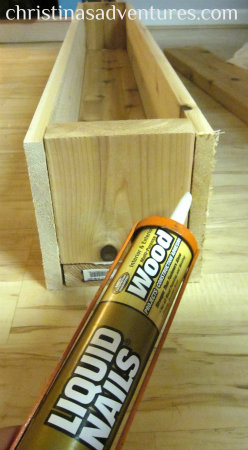
How to Make a Pallet Crate {the space between}

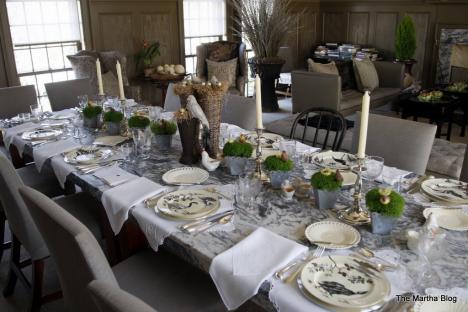
Nate Berkus: Take Three

Veranda: Life in Ruins

Company's Coming! AHHHH! {Entertaining Part 1}
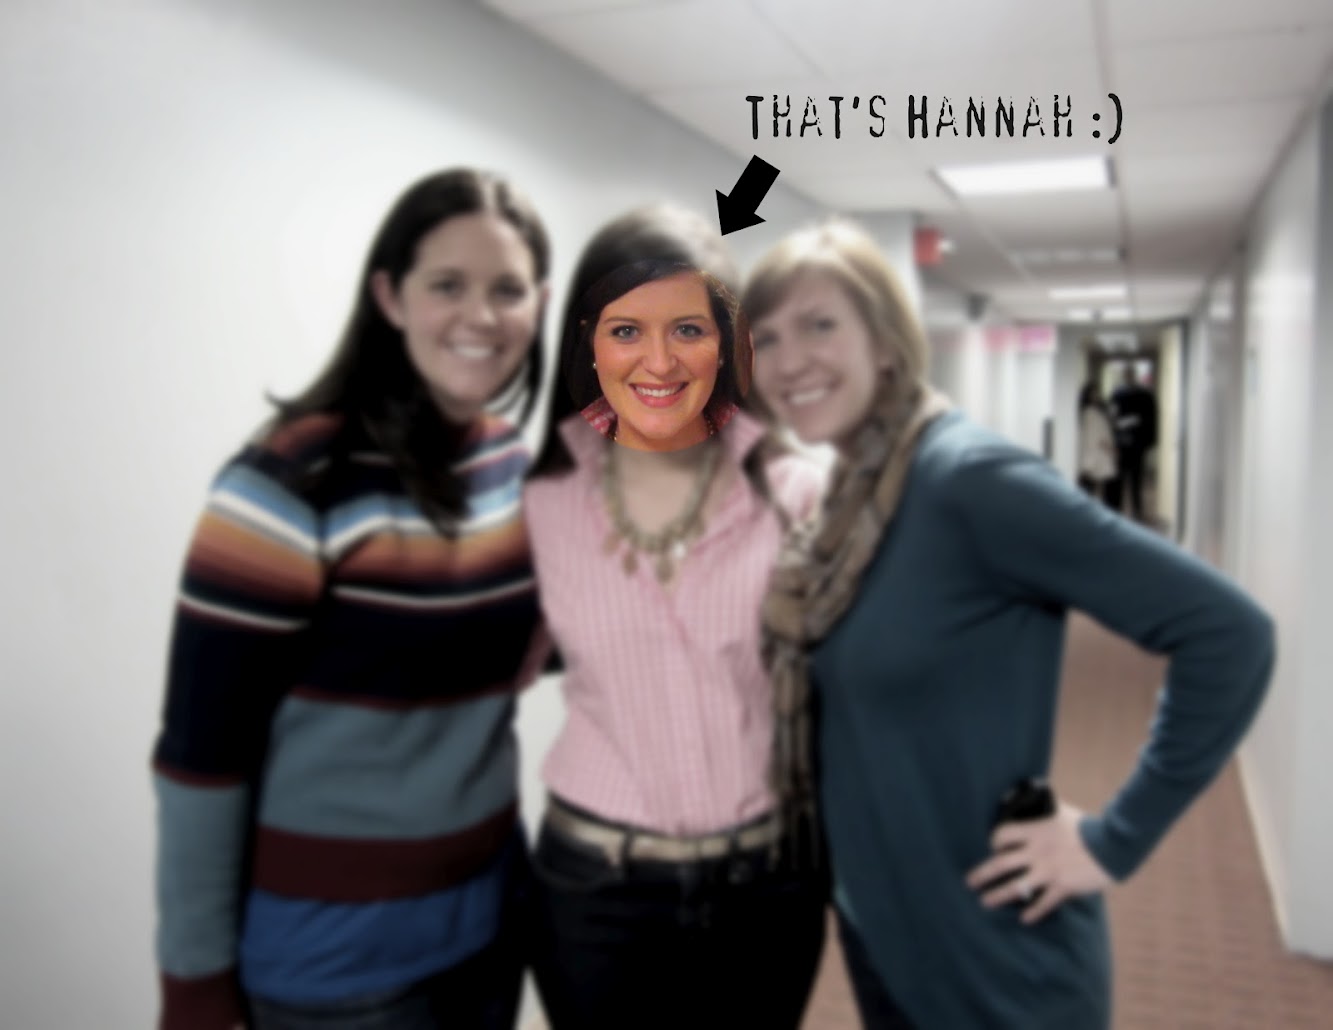
Adios Amigos Day 2 {Hannah Kate Flora}
Our Home Goals for 2013

Ladies Night Out DIY White Box Challenge!
A Transformation Story {Be Intentional}

We have a Winner {The Nate Show Giveaway}

Travel-Inspired Design {Part 1}

Heart and Lynyrd Skynyrd at Musikfest 2010, KISS at Montage

Did you know?

Refinished Dining Room Table {Furniture Makeover}

Christmas Shopping, anyone?

Garage Mudroom Makeover {For the REAL Family}

Blog Award & Thank you...

DIY Decorative Flower Trough {Christina's Adventures}