My Creative Blog [Search results for House Renovations]
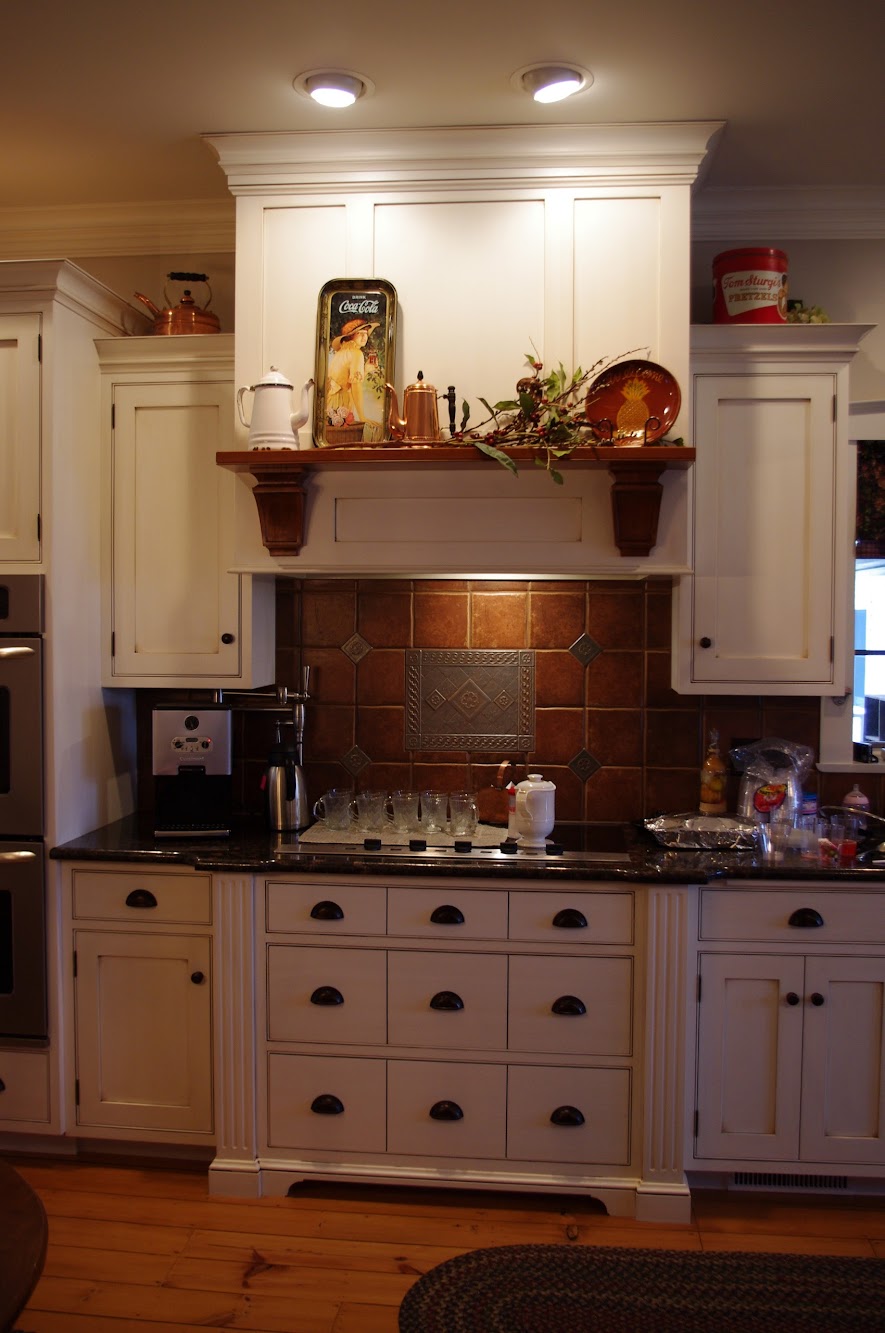
Kitchen Envy
Creating with the Stars Round 1 Winners Announced!

Dining Room — After

Creating with the Stars Round 2 Winners

A Green Nursery

West Elm-Inspired Wood Tile Dresser {Love & Renovations}

Creating with the Stars Round 3 Results!
Creating with the Stars Round 4 Results {Grand Prize Winner!}