My Creative Blog [Search results for Guest Room]
SuperFab Room Redesign REVEAL {Guest Room}
Tips for Accessorizing your Space {SuperFab Room Redesign}

Guest Room Spoilers!

Our Home Goals for 2013

Creating with the Stars Round 4 Voting {The Final Round!}

Dining Room — After

Top Projects 2012

A Clean Slate

sometimes a girl can get lucky...

New Couch and Chairs!

Our Closet

Modern Country Designs…Say What?
Holiday Your Way with Bed Bath & Beyond
The Sauna

Creating with the Stars Round 4 Results {Grand Prize Winner!}
Disney Recap {and awesome blog alert!}

My Creative Blog

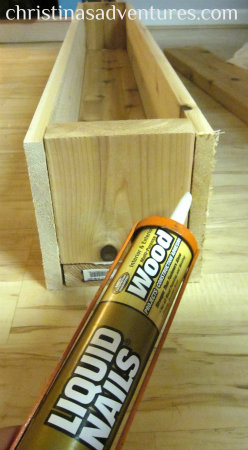
DIY Decorative Flower Trough {Christina's Adventures}
Happy 2nd Blogiversary to Us!
Get Organized!


