My Creative Blog [Search results for Guest Post]
Christmas Inspiration Guest Post

The New and Improved Real Housewives of Bucks County Blog!

The Painted Home {Guest Post}

Photobooks

B2S Fashion

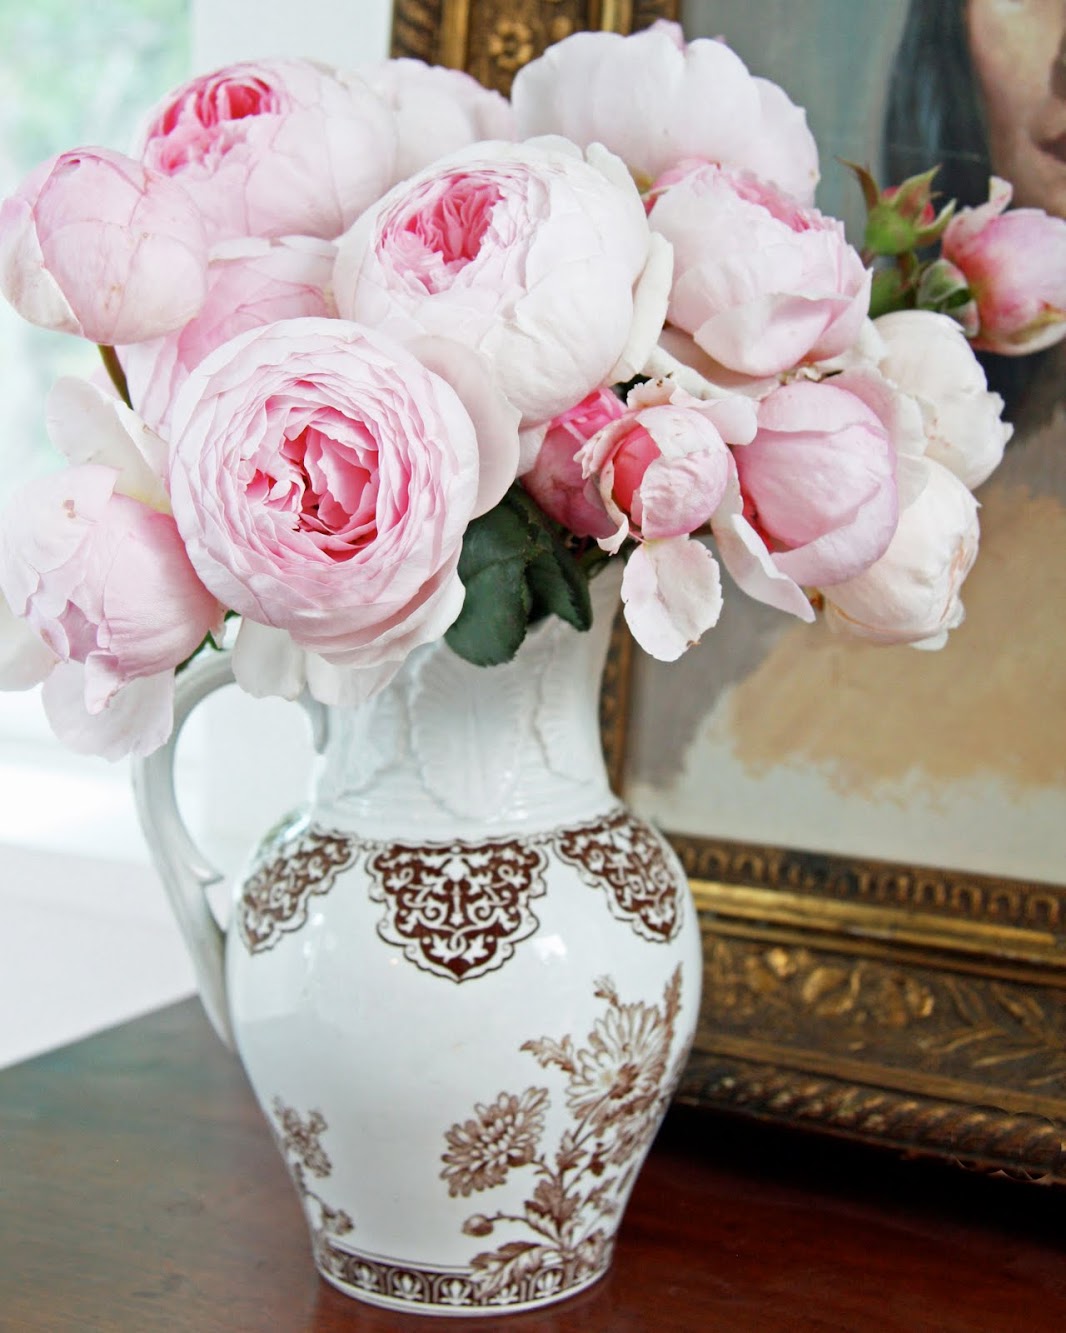
Country Roses and Guest Blogging
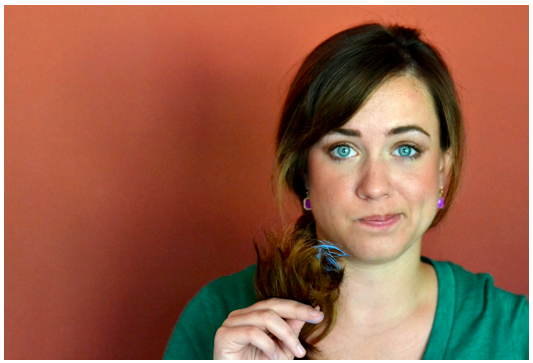
DIY Fabric Flower Bouquet {My Girlish Whims}

U Create Guest Post {Woo Hoo}

Holiday Your Way with Bed Bath & Beyond
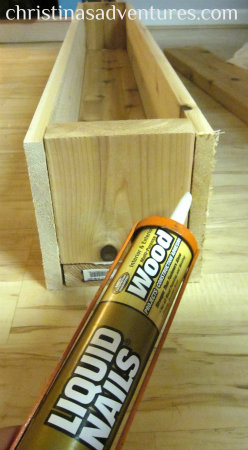
DIY Decorative Flower Trough {Christina's Adventures}
Adios Amigos Day 4 {Sew Dang Cute Crafts}
How to Make a Pallet Crate {the space between}

Happy 2nd Blogiversary to Us!

Fab Find Friday

February Sponsor Love

Jewelry Organizer {The Ugly Duckling House)
The Part-Time Blogger's Dilemma {Let's Be Honest}

DIY Patio Update #2
Summer Sponsor Spotlight

Creamy Guacamole with Homemade Tortilla Chips {Guest Post}


