My Creative Blog [Search results for Did You Know....]
These are a Few of our Favorite Things {Sponsor Spotlight}

Glazed Paper Tutorial & Finished Gallery

A Transformation Story {Be Intentional}

EC2 in 2013 {What to Expect When You're…}

Hello World

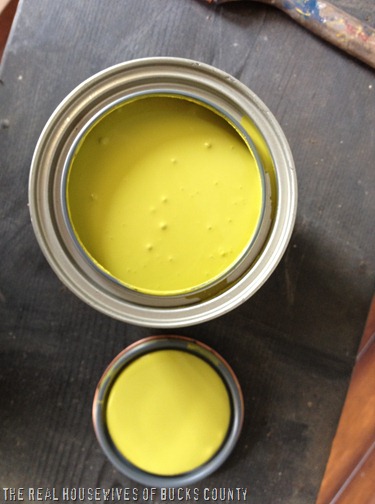
Who are the Real Housewives of Bucks County???

Blog Reader Survey Results

October Sponsor Love
FOR SALE!

EC2 Home Tour — Welcome to My Foyer!
How to Grow a Container Potato Garden

Farmhouse Table & Freebie Chairs

Teacher Love {B2S Day 3}

Holiday Your Way with Bed Bath & Beyond
The Countdown is On! {CWTS 2013}
The Official Countdown
Poe Inspired Mantle & DIY Fall Scrap Sign

Christmas Shopping, anyone?

B2S Fashion

Fab Find Friday {B2S & Irene Style}


