My Creative Blog [Search results for Accessorizing]
Tips for Accessorizing your Space {SuperFab Room Redesign}

Bucks County Designer House & Gardens

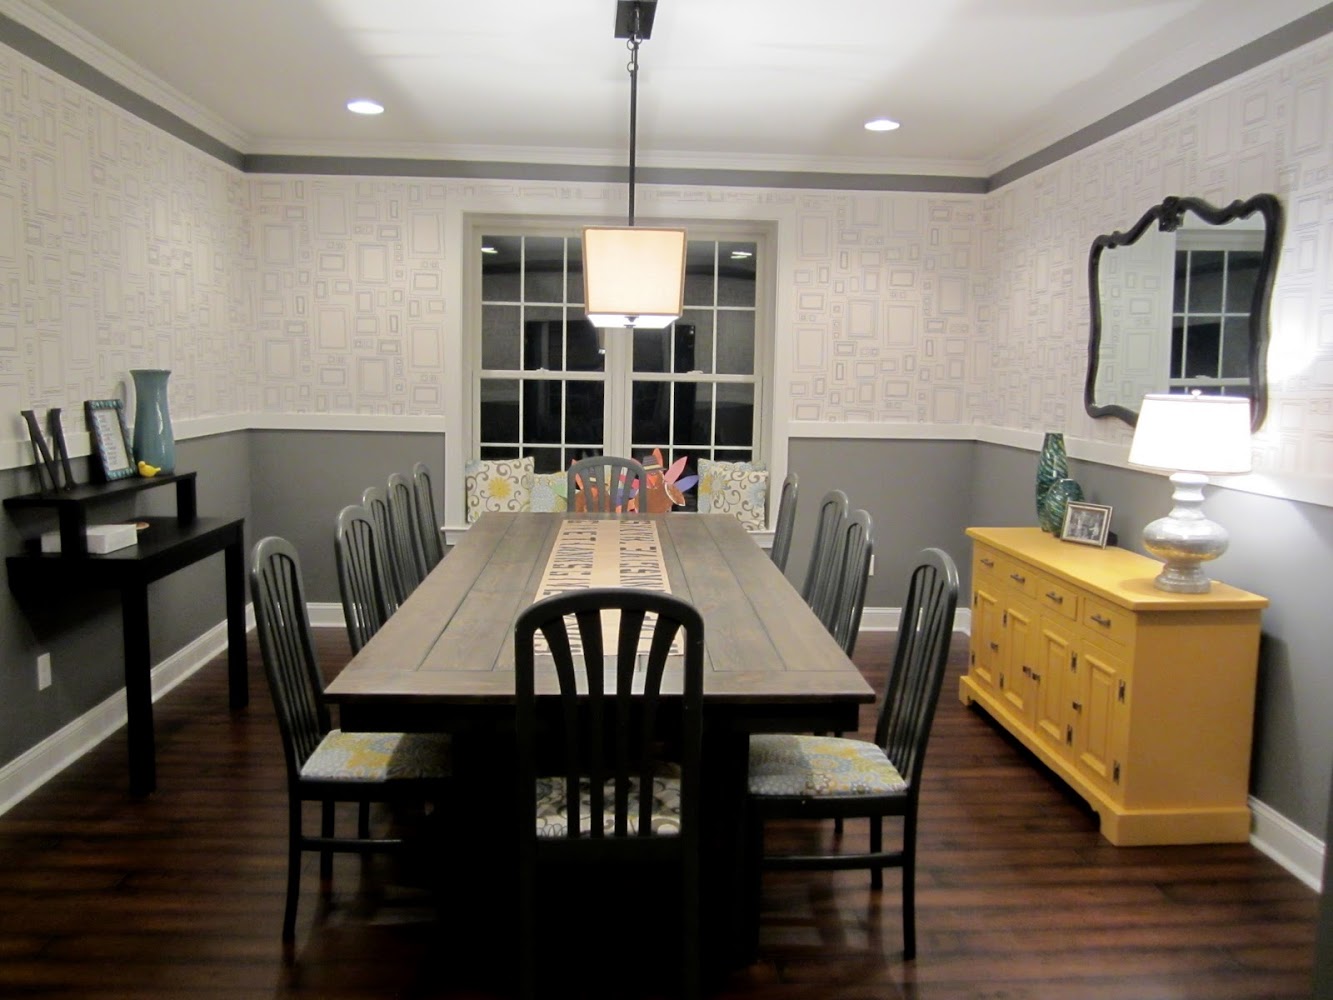
A Pinteresting Home! {Meet Kelly}
Board & Batten Love

{Thankful}

Free Printable Invasion

DIY Patio Update #2
Acquired Objects: The Whimsical Human Form

Mirror Mirror on the Wall…