My Creative Blog [Search results for deck]
Power-washing Saved My Deck's Life

DIY Shutters and Window Box
Tackling the Jungle

How To Turn an Old Cabinet into a Planter Box

Landscape Design

Michael Trapp is on the Move!

The Living Room: Before and After

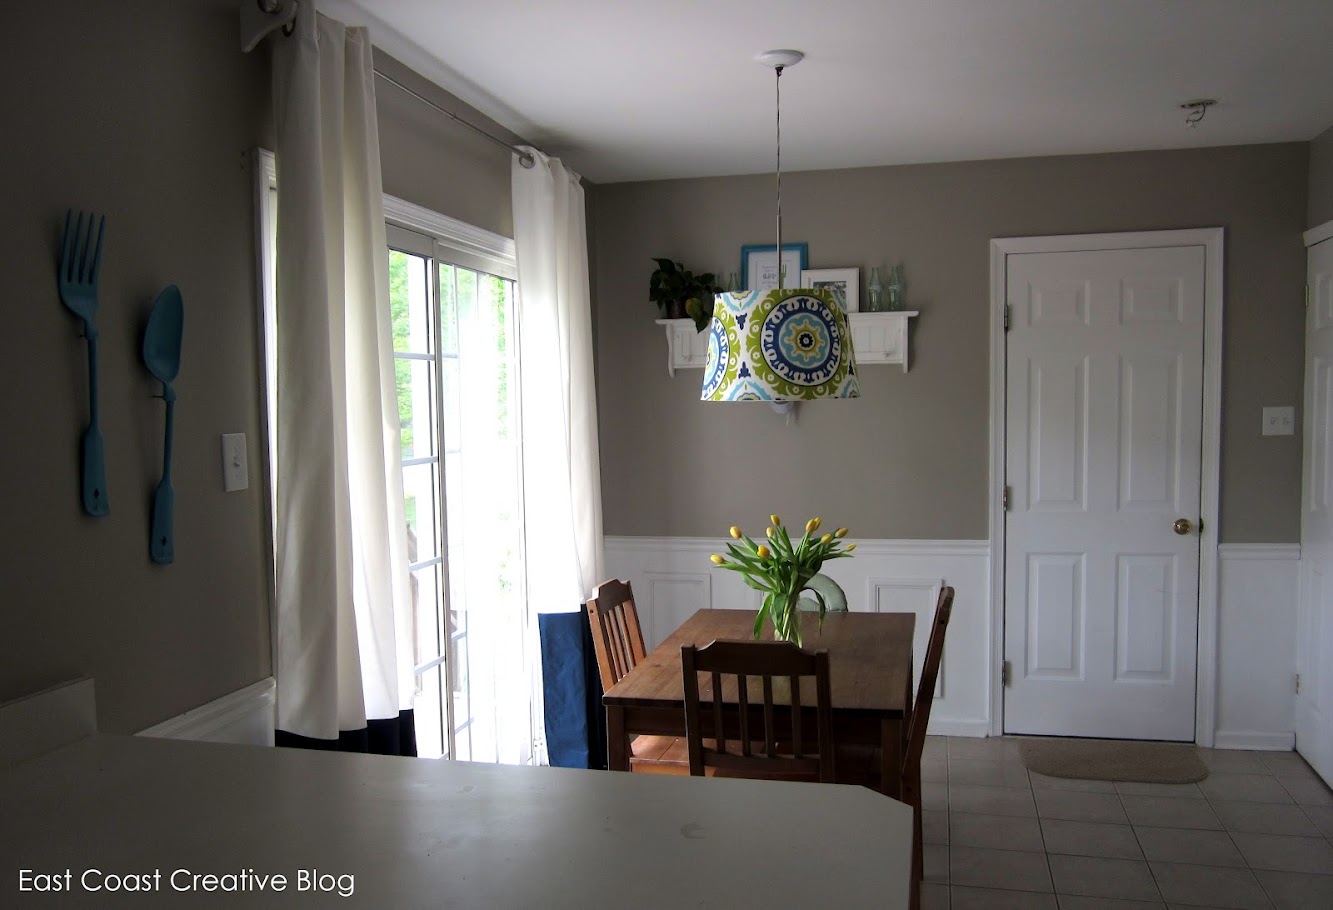
The Curtain Solution {DIY Painted Curtains}
Gardening: 20 years of Achievement

The Good Ol' Mason Jar

A Worthwhile Evening {Recap}

A Clean Slate

