My Creative Blog [Search results for Various]
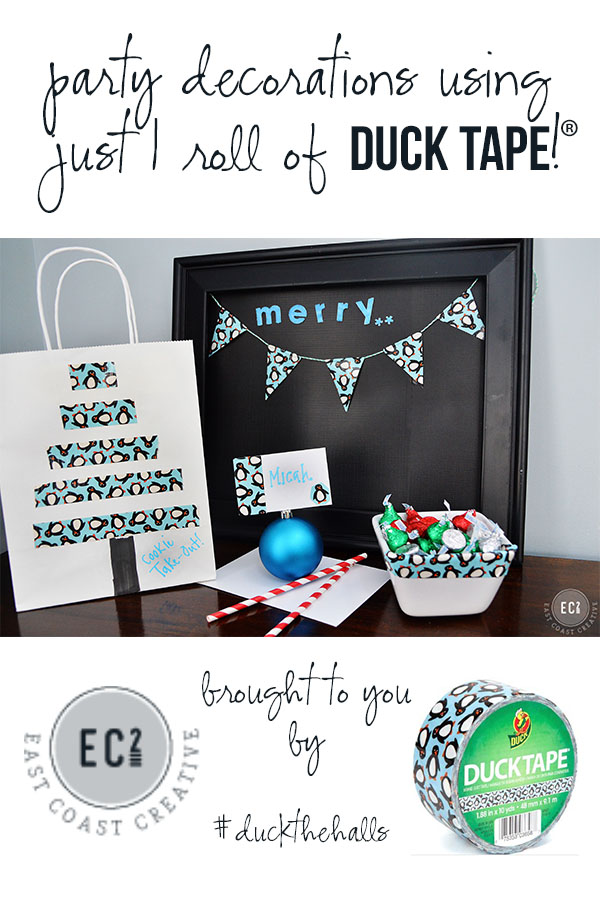
Decorate for a party using just 1 Roll of Duck Brand® Tape: Cookies & Carols
A Visit to Blue Ridge Flea Market

Wood Shim Wall Art {Tutorial}

Pallet Possibilities {How to Build a Wooden Pallet Wall}

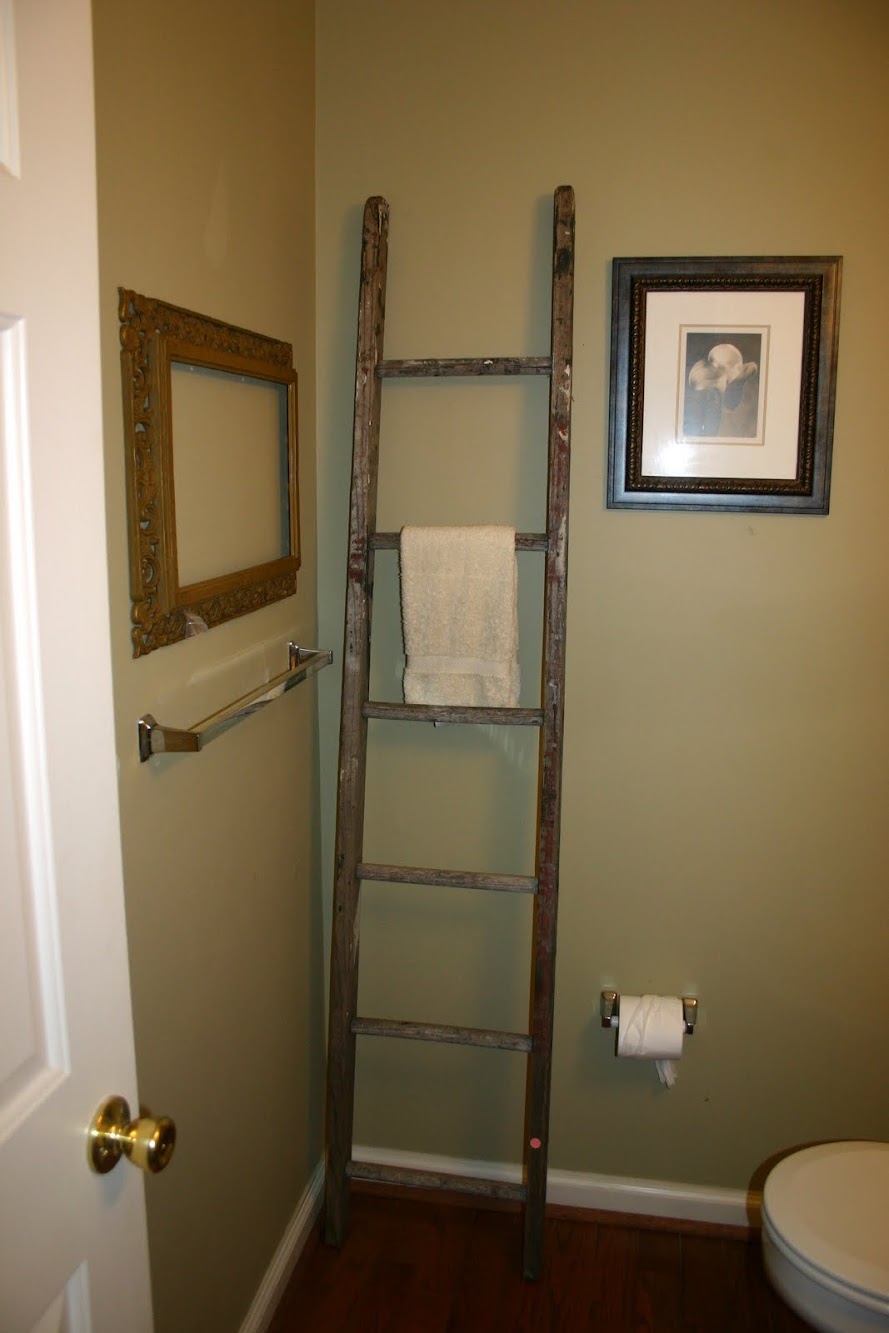
Moving Right Along {Bathroom Redesign}
Birds on Vintage China Patterns

Infertility

My Office

Anthro-Inspired Ikat Console {5 Foot 12 Creations}

Nate's 12 Days of Holiday DIY's {Day 9}

DIY Wooden Tag Ornaments

Tending the Grapes

Making Design Easier {Design Seeds}


