My Creative Blog [Search results for Room Makeover]
SuperFab Room Redesign REVEAL {Guest Room}
Our Home Goals for 2013

Colorful Bedroom Makeover {KJ's Bedroom}

Creating with the Stars Round 4 Voting {The Final Round!}

Tips for Accessorizing your Space {SuperFab Room Redesign}

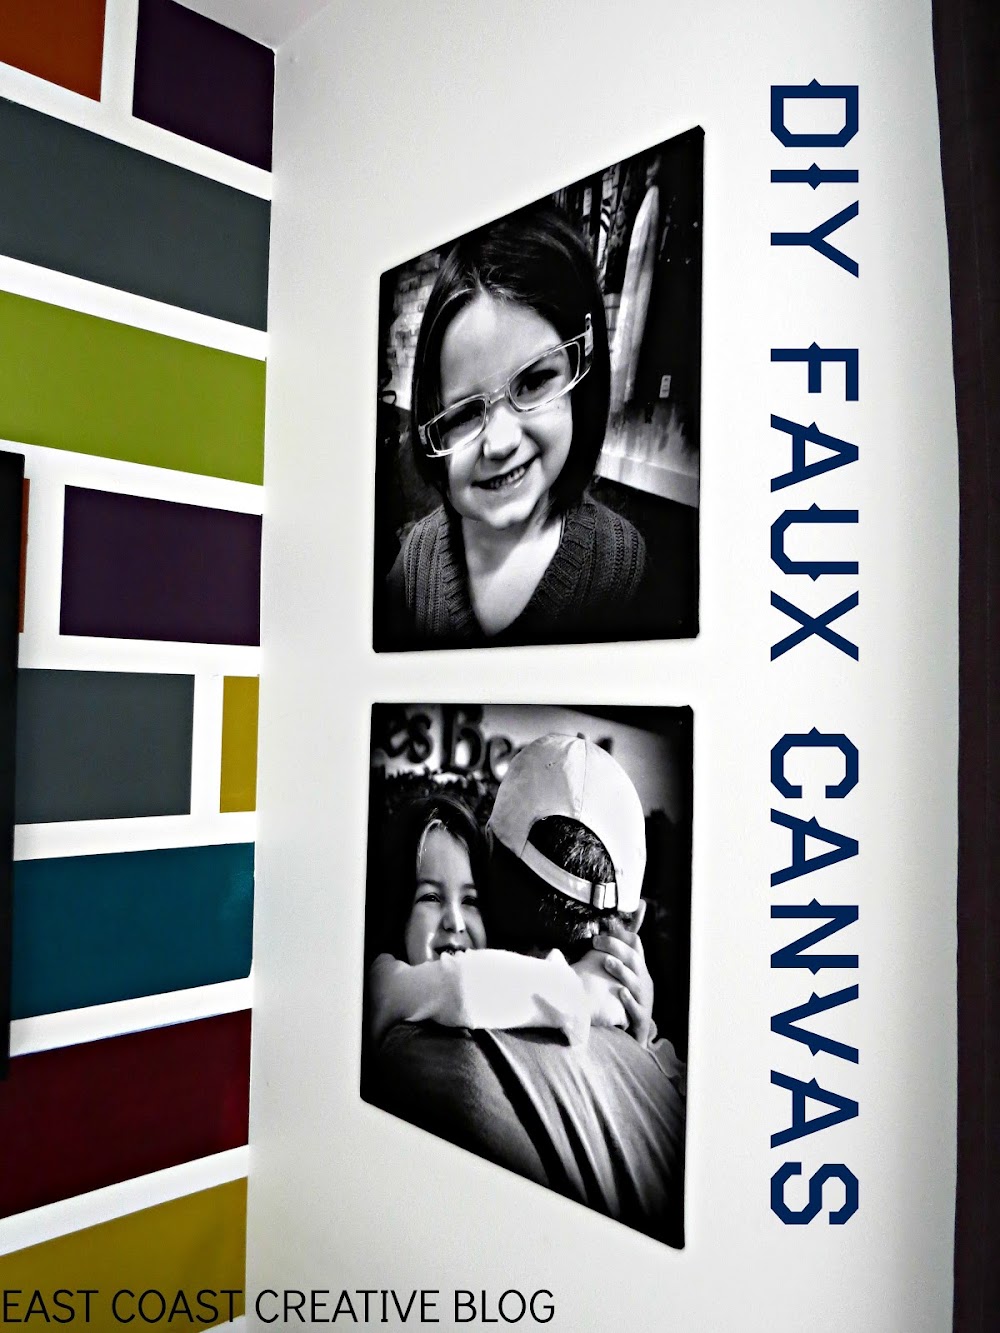
DIY Faux Canvases {Kira's Room Makeover}
Formal Living Room Makeover {Knock It Off}

Creating with the Stars Round 4 Results {Grand Prize Winner!}
How to Paint a Mosaic Accent Wall {Bedroom Makeover}
Dreary to Cheery Family Room Makeover {Knock It Off}
Putting the Baby in the Basement

Creating with the Stars 12 Contestants Announced!
.jpg)
Rustic Industrial Bedroom Makeover {Knock It Off}
How to Paint a Whiteboard Wall
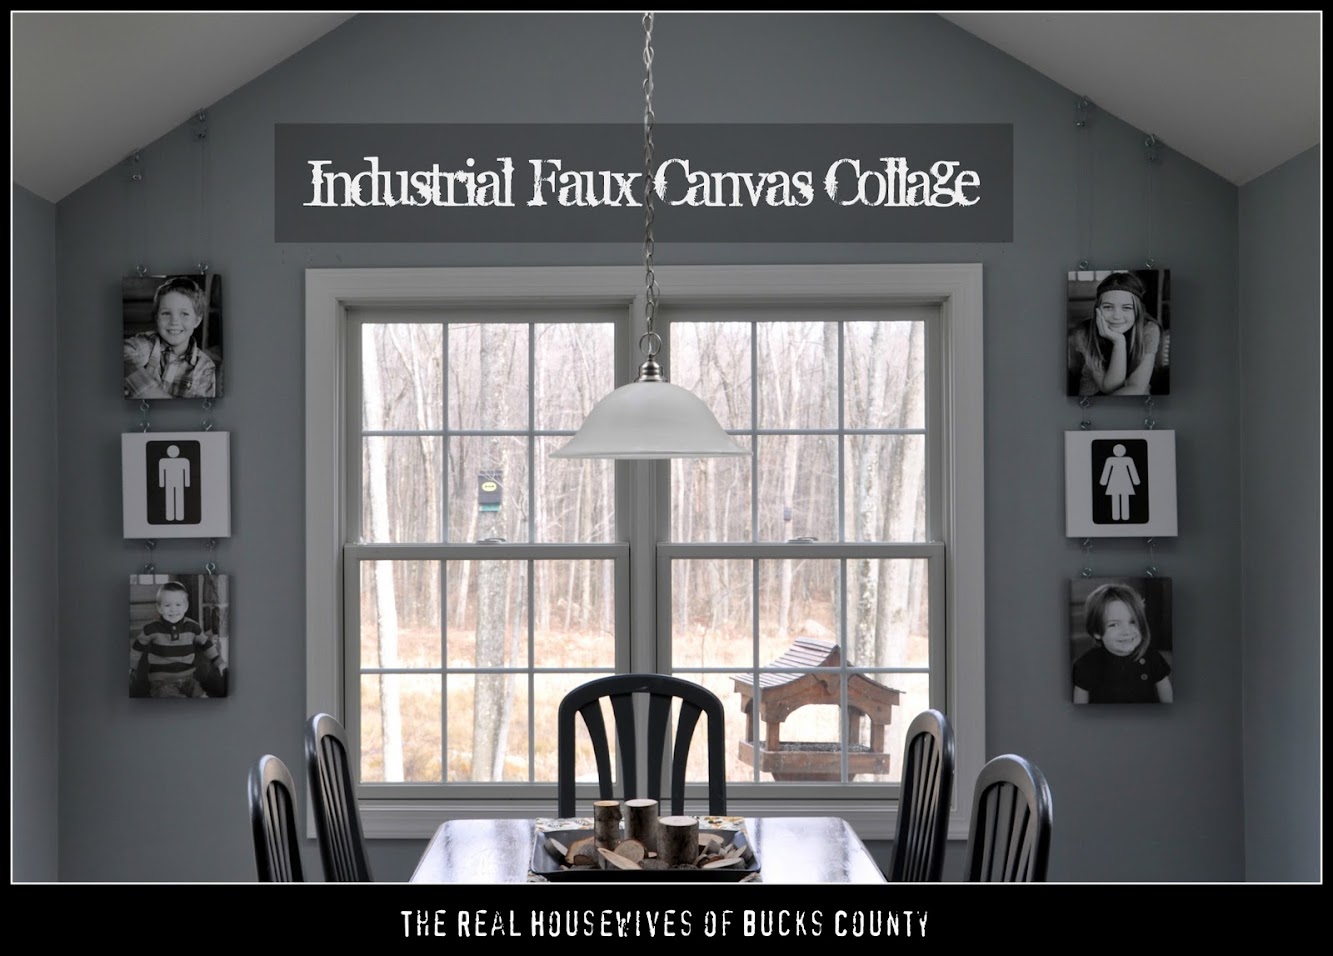
Industrial Faux Canvas Collage
Don't Try this at Home, but Do Try this…

Powder Room Pick Me Up
Kitchen Renovation {Demolition Phase}

Top Projects 2012

Pallet Possibilities {How to Build a Wooden Pallet Wall}

