My Creative Blog [Search results for Outdoors]
Spring Things {Bring the Outdoors In}

Creating a Dream Backyard Experience

Fairytale

Thanksgiving {Centerpiece & Place Card Ideas}

Christmas Inspiration Guest Post

1stdibs, a New Record!
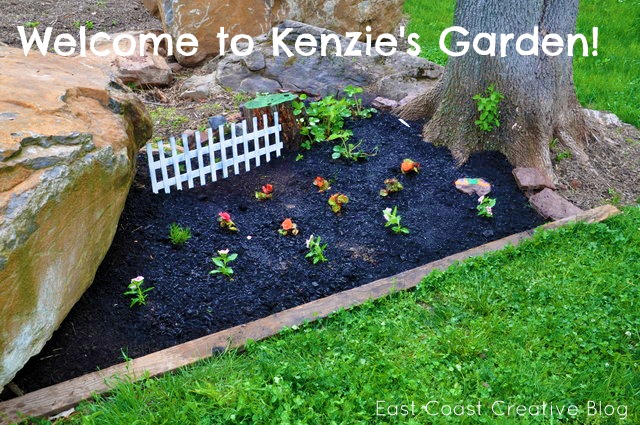
Gardening for Kids {Kenzie's Garden}
Spring Things { How to Clean Windows like a Pro}

Nate's 12 Days of Holiday DIY's {Day 4}

Creating with the Stars Round 2 Voting

Rustic outdoors

Blooming Limelight

Get Organized!


