My Creative Blog [Search results for History]
Iconic photographs

The Mudlark: A Broken China Mosaic Bowl

Nate Berkus: Take Three

Travel-Inspired Design {Part 1}

I Heart Fiesta & My Fiesta Hearts Me

Divine Europe

A House Plant

what's your style — in one picture

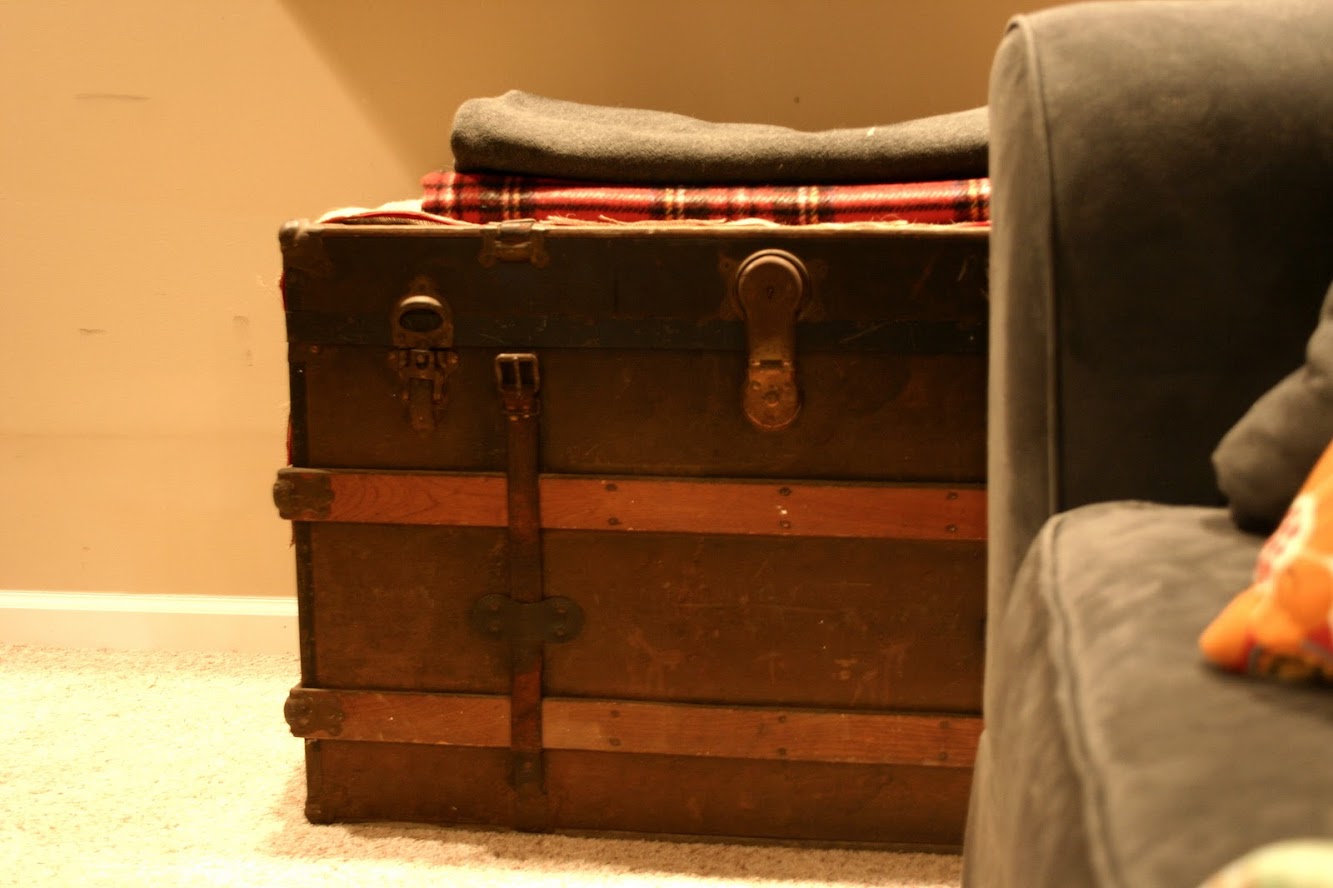
A vintage feel
Nate Berkus: Take Two

Chateau les Carrasses
Veranda: Life in Ruins

Axel Vervoordt Timeless Interiors

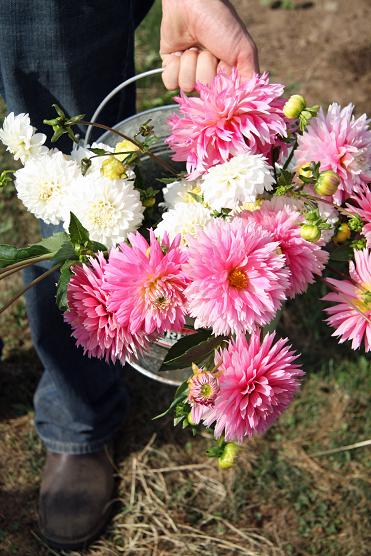
The Flower Farm
Fairytale

Pallet Possibilities {How to Build a Wooden Pallet Wall}

Have you seen Timbuktu?

Fab Find Friday {Liberty Thrift Store Follow-up)
How to Make Domino Jewelry

The Bench


