My Creative Blog [Search results for Blog name]
What's in a Name? {Introducing East Coast Creative}
Spring Things {Bring the Outdoors In}

Blog Award & Thank you...

Happy 2nd Blogiversary to Us!

The Real Housewives- An Announcement!

DIY Fabric Flower Bouquet {My Girlish Whims}

Thanksgiving {Centerpiece & Place Card Ideas}

Teacher Love {B2S Day 3}

Adios Amigos Day 3 {Living with Lindsay}

Photobooks

Adios Amigos Day 4 {Sew Dang Cute Crafts}
I'm a legend in my own mind...

only the best for you....a giveaway!

5 FREE Home Decor Projects {Free Stylin' Beth)

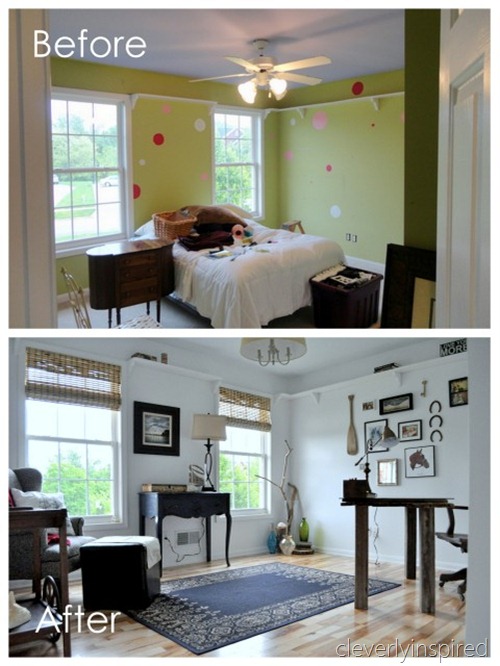
Repurposed Art into Bulletin Board {Cleverly Inspired}
Blogging 2 Better Summer Challenge

Poe Inspired Mantle & DIY Fall Scrap Sign

Creating with the Stars Round 1 Voting

Modern Houndstooth Stencil
Something to Celebrate {B2S Day 4}


