Earlier this week, I shared my powder room pick me up with ya'll. If you missed it, you can check it out here.

After stenciling my walls, and hanging the industrial light fixture from Lowes, I stepped back and thought, dangit it still looks crappy. Mr. Cheepy McCheeps a Lot Mirror was not helping the situation any and had to go!

I ran back to Lowes and grabbed a plain beveled mirror.

I called my BFF and asked if she still had the massively long and awesome old wagon boards. Thankfully, she's awesome and said I could have it! I needed to cut it in half or it might have been the thickest mirror known to man. We're really fancy so we placed it on our lawn mower. I promise we're not as backwoods as this picture makes us seem… let's think of it as resourceful okay??


We used the mirror to help determine how long to cut the wood…
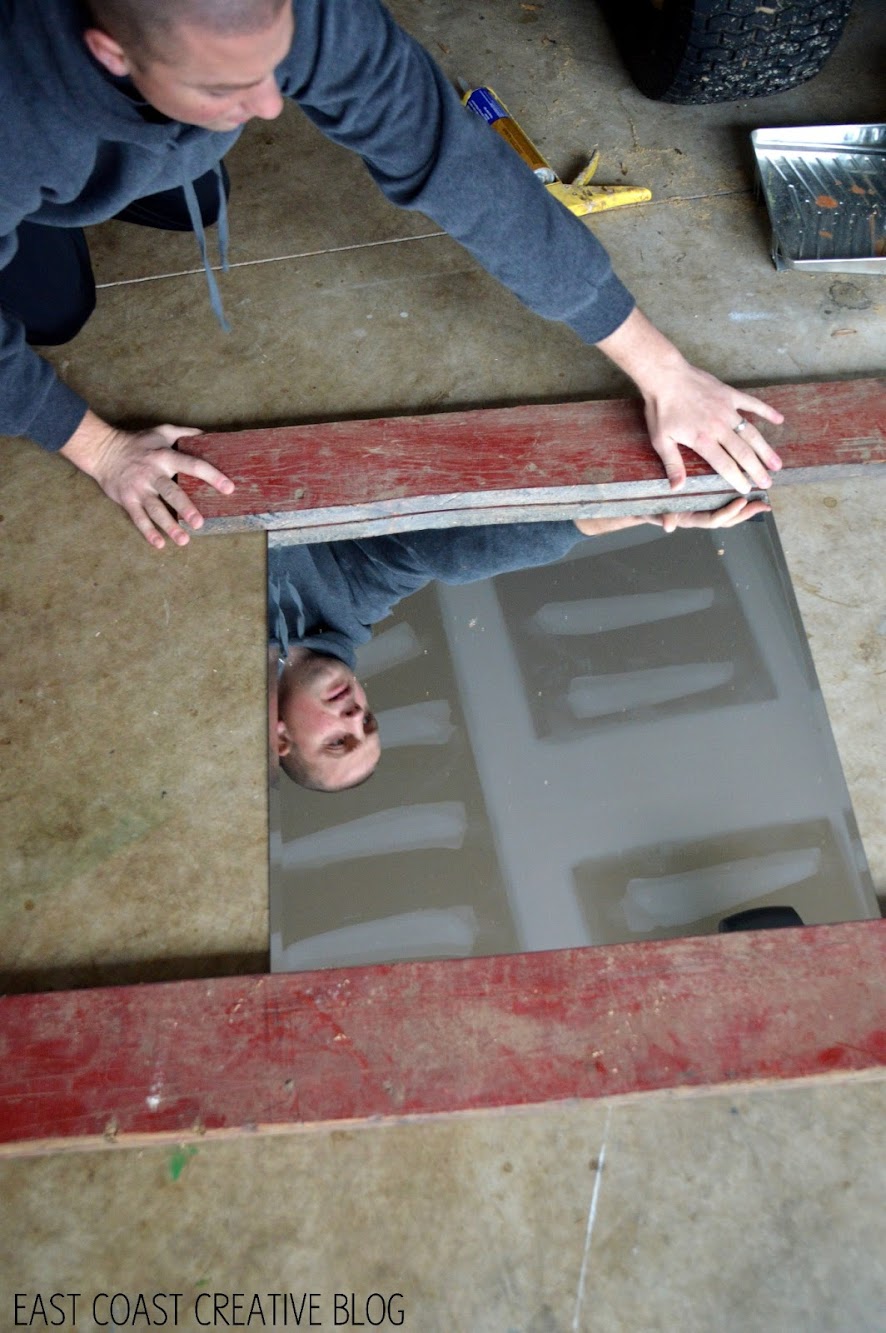
Then, my handsome hubs helped me cut the wood down to size. I have to mention that it sometimes might appear that I never do any work, but really it's just that the hubs rocks and he'd rather not fuss with the settings on our camera, so I often become the camera lady!

When we cut the wood in half, the inside where we cut was really blonde wood, and I needed to darken it up a bit, so I just rubbed some leftover grey stain on the side. The top piece was stained, the bottom wasn't… see the difference?

We brought it all inside and got ready to put it together… I don't really recommend doing DIY project on granite countertops, but hey this is real life people. (Oh, and having a hair brush handy is optional-hehe)

We used liquid nails to adhere the wood to the mirror. It's not called liquid nails for nothing, it holds like crazy!

Jillian Michaels would be proud that I'm putting my weights to good use, okay, maybe she'd actually yell something mean at me and make me do push-ups (and not the girly kind), but weights work really well to hold thing secure while they dry. I left these on overnight.

The next morning, we screwed it directly into the wall studs so it could handle the weight.

I used some black, decorative nail heads to cover the screws.

The new frame definitely goes better with the light fixture. I LOVE the character the wood has!


So there you have it. This was a super simple project and… and I actually have nothing else to say about that because it's Valentine's Day and my valentine is ready for me to be done with this post. How's that for keepin' it real? There's a decent chance I will regret this ending in the morning, but we'll wait and see!
Happy Valentine's Day Peeps!