Hey Everyone! We're super excited to share this simple, yet majorly cool project with you today! Two weeks ago I got back from my 8 day trip to London and Paris with my hubs (Recap post coming after Christmas). It was an amazing, kid-free trip that allowed us to do adult things like visit museums, eat at fun restaurants, see a musical, and do some shopping.

Let's be completely honest… Europeans have mad-style! I loved all of their clothes and when Eric and I were shopping at a store called Next, he pointed out a really cool deer silhouette art and said,"You could totally knock that off!"

Let me tell you, I was so thrilled that A.) my hubs is always on the lookout for blog projects and B.) he knew to call it a"knock-off" I took a cell pic (above) and knew I'd make it as soon as I got home.
Here's what Jess and I came up with…

How to Make Your Own Illuminated Silhouette Art: We had a few 1x1s leftover from Jess' planked dining room wall, so we started by cutting them down to size. We made ours a little larger than the inspiration piece, we did a 18x24 rectangle.

We painted all four pieces with some leftover grey paint.

While Jess was in the garage painting, I got to work on creating my deer silhouette. I found an image on Google and then used my Silhouette to cut it on black cardstock. If I'm being 100% honest, first I watched about 5 YouTube videos teaching me how to do it! Ha!

I then measured the light linen-ish fabric down to 18x24

We laid out our wood in a simple box and measured 1 1/2 inches in for each intersection.

We started by using simple nails to secure the box, but it wasn't the most sturdy…

So, we went to a plan B and used a drill. Sorry about the lawn mower in the background- a little evidence that I live on 4 acres.

Once we had our box secure, we placed the fabric on the back and attached it with a staple gun.

We had some excess fabric, so we trimmed the edges down a bit.

One of my favorite things about the inspiration piece was the cording at the intersections. I picked up red and tan at JoAnn Fabrics.

We put the paper silhouette on the linen using spray adhesive. To light it, I just stood it up near a light, but you could also use a small reading lamp or Christmas lights to illuminate it.

It looks awesome in my Kaden's room with his Pallet Wall!
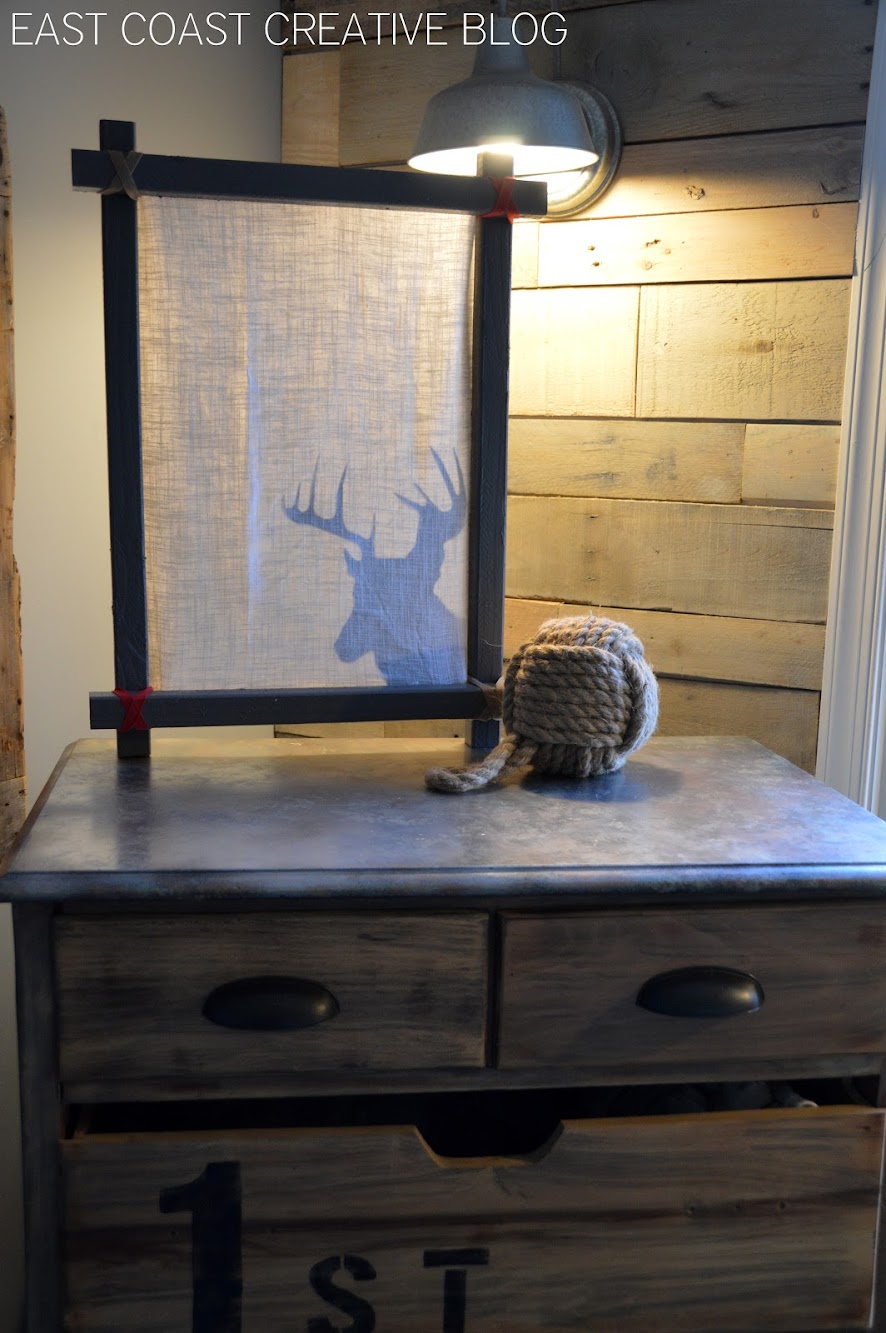
Even though it's perfect in Kade's room, for now it's part of my Christmas decor!


One of the coolest parts of this DIY, is that you can easily swap out the silhouette. I already have something fun planned for Valentine's Day!
If you want to see the rest of Jess and my Christmas home tours, you can check them out here.
My Christmas Home Tour

Jess' Christmas Home Tour

We hope you and your family are enjoying these days leading up to Christmas.


